
challenge
How might we design a methodology that explores and measures how touch is related to affect?
Outcome
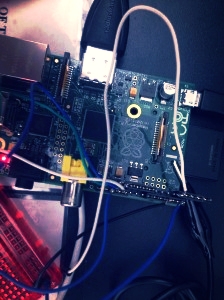
By using a Raspberry Pi, heart rate monitor and a head-mounted camera we where able to map one's physiological sensitivity to haptic sensations with a complete stranger. By gathering participants who had never met before, and supplying them with cameras and biosensors in a controlled environment, this cultural probe aims to generate an awareness of the relational abilities of touch, different sense of proximity and how people are affected differently - potentially based on race, gender, culture or sexuality.


Materials
Raspberry Pi, OpenFrameworks, heart rate monitor, head mounted camera.

design process
1- Brainstorm: How can we measure affect?
2- Define: Variables and measurement of evaluation.
3- Methodology: Design questionnaire and script for conducting the experiment.
4- Build: Development and circuits.
5- Test: User test with rapid prototype.
6- Evaluation: Evaluate data and results.
7- Iterate: Iterate for more accurate readings.
8- Debug: Perfect readings and user interaction.
9- Recruit: Recruit participants with diverse cultural backgrounds and gender.
10- Perform: Perform experiment in a controlled and safe environment.
11- Analyze data: Analyze data and evaluate results.
Methodology
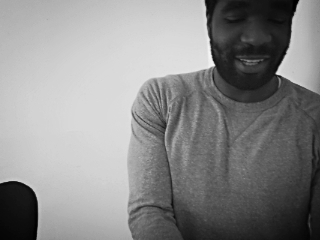
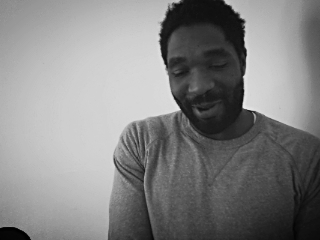
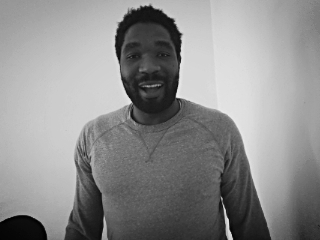
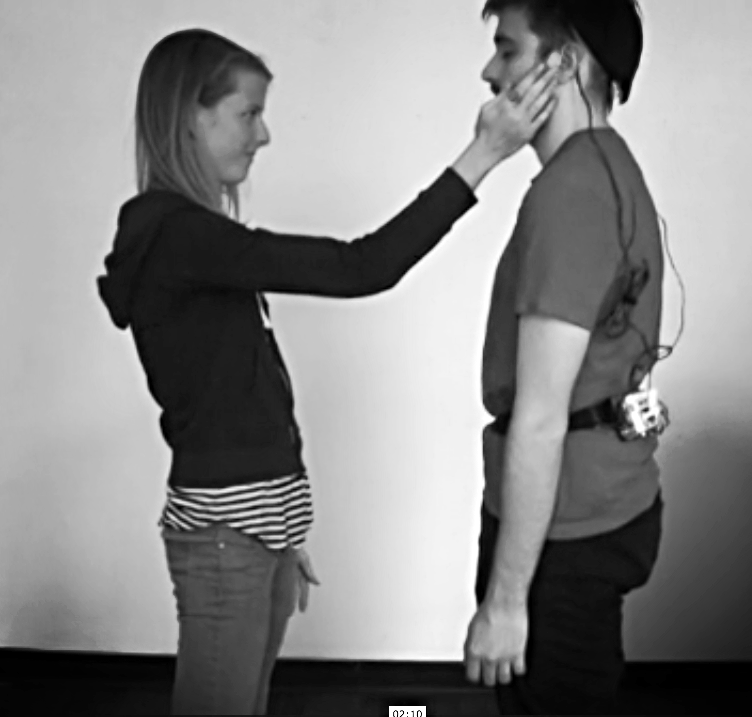
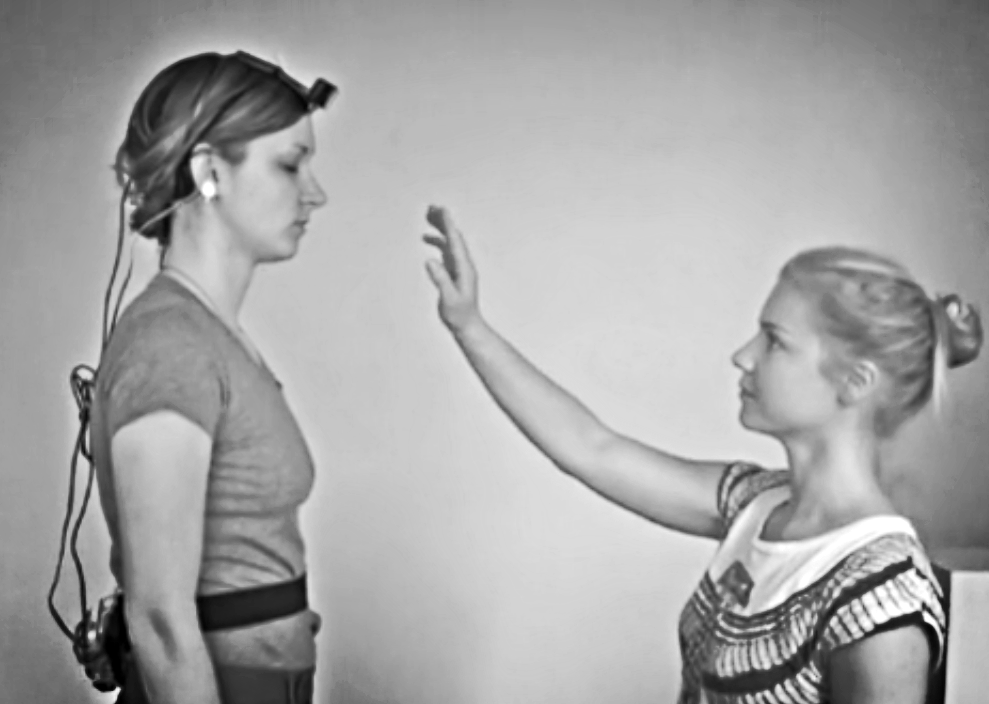
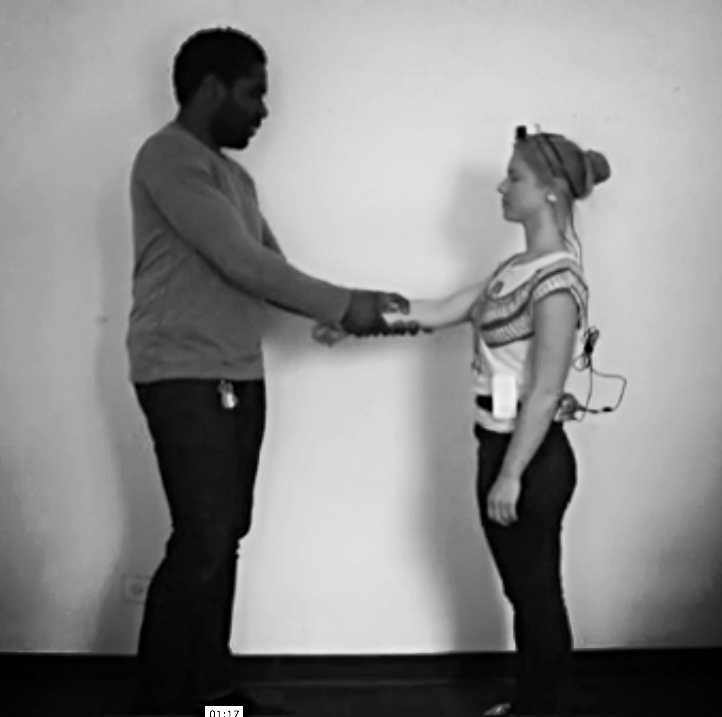
- Only one of the subjects wore the equipment with the sensors and camera. The equipment was programmed to take a picture with the head mounted camera every time the subjects heart beats.
- Our user groups had a mix of gender, race, and age. We evaluated the data after having experimented with 10 groups of 2 people in each round.
- Subjects where prompted to fill out an evaluative questionnaire both before and after the experiment to map their emotional states.
- The interaction between the two strangers (that had never before seen each other) was timed to 5 minutes, or until the subjects walk away. Subjects where instructed to touch freely.
results
- More pictures where taken (heart beat accelerated) when genders where mixed.
- Subjects most often registered feelings of discomfort, sincerity, temperature, stiffness, uncertainty and safety.
- Subjects would most often remember the body parts that where not touched after the experiment, as well as the silence mixed with the sensations of touch.
- Subjects most often would reflect on the notion of different boundaries and how far to go.
- Subjects felt most comfortable touching extremities such as arms and legs.
- It is important to note that this is more of a qualitative reflective experiment more so than a scientific one, and a larger amount of data would need to be gathered in order to spot more accurate commonalities.
Technical Aspects
Here is a step by step on how to get the raspberryPi working with openFrameworks, installing wiringPi to talk to the GPIO pins, and install the ofxPulseSensor addon. Big thanks to Ayodamola Okunseinde for the help here.


1. Set up the SD card and create an image on your Pi.
2. Install openFrameworks on the card.
Below is the code I am using to snap a picture by keyPress, and save the images to the folder, in testApp.cpp. It took a while to figure out that oF was complaining at first because I was using ofVideoGrabber.getPixels() that returns data with the type unsigned char *, whereas ofImage.saveImage() wants data of the type ofPixels. The confusing thing here is that ofPixels and unsigned char * are actually the same thing. So the workaround is to create a temporary ofImage, which has two versions of setFromPixels() which accept either ofPixels or unsigned char *, so we can call it with the data from getPixels() on the camera, and then save that out to a jpg.
#include "testApp.h"
//--------------------------------------------------------------
void testApp::setup(){
camWidth = 320; // try to grab at this size.
camHeight = 240; //we can now get back a list of devices.
vector<ofVideoDevice> devices = vidGrabber.listDevices();
for(int i = 0; i < devices.size(); i++){
cout << devices[i].id << ": " << devices[i].deviceName;
if( devices[i].bAvailable ){
cout << endl;
}else{
cout << " - unavailable " << endl;
}
}

vidGrabber.setDeviceID(0);
vidGrabber.setDesiredFrameRate(60);
vidGrabber.initGrabber(camWidth,camHeight);
videoInverted = new unsigned char[camWidth*camHeight*3];
videoTexture.allocate(camWidth,camHeight, GL_RGB);
ofSetVerticalSync(true);
}
//--------------------------------------------------------------
void testApp::update(){
ofBackground(100,100,100);
vidGrabber.update();
if (vidGrabber.isFrameNew()){
int totalPixels = camWidth*camHeight*3;
unsigned char * pixels = vidGrabber.getPixels();
for (int i = 0; i < totalPixels; i++){
videoInverted[i] = 255 - pixels[i];
}
videoTexture.loadData(videoInverted, camWidth,camHeight, GL_RGB);
}
}
//--------------------------------------------------------------
void testApp::draw(){
ofSetHexColor(0xffffff);
vidGrabber.draw(20,20);
//vidGrabber.saveImage(¨stest.png¨);
}
//--------------------------------------------------------------
void testApp::keyPressed  (int key){
// Video settings no longer works in 10.7
// You'll need to compile with the 10.6 SDK for this
// For Xcode 4.4 and greater, see this forum post on instructions on
// installing the SDK
// http://forum.openframeworks.cc/index.php?topic=10343

if (key == 's' || key == 'S'){
vidGrabber.videoSettings();
}

if (key == 'p') {
ofImage image;
image.setFromPixels(vidGrabber.getPixels(), vidGrabber.width, vidGrabber.height, OF_IMAGE_COLOR);
image.saveImage("camera " + ofGetTimestampString() + ".jpg");
}
}
3. Install wiring pi using this tutorial. Follow all the instructions on the webpage and enter into terminal. The tutorial has an error: It prompts you to enter the wrong folder, where you actually need to cd wiringPi/wiringPi instead. Then in your projects config.make-file include the following line in the PROJECT LINKER FLAGS-section:
PROJECT_LDFLAGS=-Wl,-rpath=./libs
PROJECT_LDFLAGS += -lwiringPi
5. Copy the ofxWiringpi folder into your project src folder as well as your addons folder in openFrameworks
6. Include the #include wiring pi code from the basic example in your project testApp.ccp file
7. sudo make run
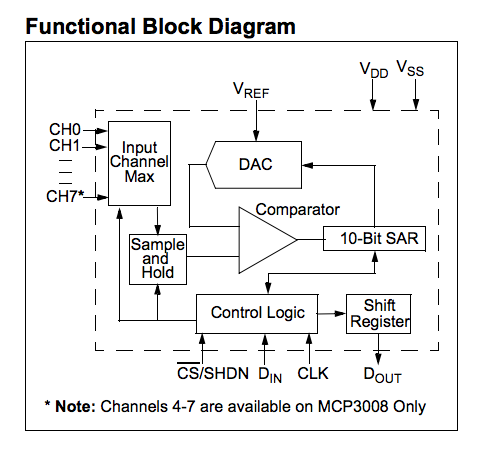
8. Since the raspberryPi doesn't take analogue input, you need to get an analogue to digital converter in order to get the data from the pulse sensor (see details in the tutorial below).
9. Add the pulse sensor by following this tutorial. However, the wiring seems to be wrong, as the chip is put on backwards. So, we followed the schematic below instead. You can use the spec sheet to cross reference and make sure the pins are right.